Visual content is big whether it’s videos, images or infographics; which means that you should be creating it! To optimize your blogging efforts, consider turning some of your posts into visual content. You’ll get more mileage out of your posts, and more eyes on your content.
Does creating even more content sound overwhelming? It doesn’t have to be! Here are three tips to help you create visual content for your blog posts without adding lots of extra hours to your workweek.
Tip #1: Think ahead when planning blog posts
What can you blog about that can also be represented well in visual content? Think ahead to visual content options as you are organizing and writing your blog posts.
For example, I might plan to create images for each tip in this post (which gives me 3 pieces of visual content).
Or you can create a video “teaser” – a very short video with a title, summary line or tip. Then link back to your blog post.
Tip #2: Break a longer post down into several pieces of visual content
If you have some in-depth posts available, take pieces or chunks of that post and make several images, videos or infographics.
Each tip in a longer post can be turned into its own piece of visual content. Some people prefer visuals or don’t have time to read a longer blog post all at once. So get your message to these people in short, “snackable” visuals.
The individual images or videos then link back to the original in-depth blog post. You’ll be giving a longer lifespan to your original post if you share these new visual components over the next several months.
Note: Given Pinterest’s long-term SEO benefits, you can create several image Pins for each blog post, and pin them to different boards over the next several weeks/months.
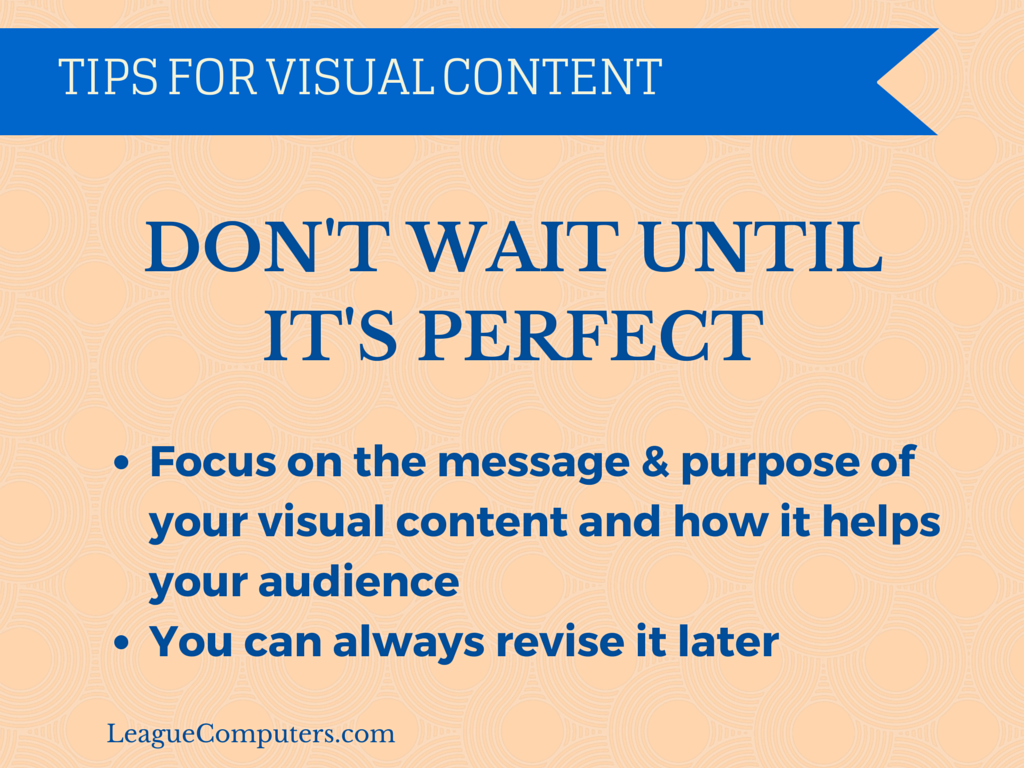
Tip #3: Don’t wait until it’s perfect
Creating visual content can be daunting if you’re not a graphic designer. Whether you’re filming yourself in a video or just trying to put together an attractive infographic, don’t get caught up on “perfection”.
Create your visuals with their value as the top priority: concentrate on the message, and how this information will help your audience. A less than perfect video may even make you or your brand seem a little more human to the average person (especially if you include the bloopers!).
Stay Tuned for Tips on Tools & Systems
As I take on this project personally and create new visual content for posts on the LCS blog, I’ll be sharing specific tips on some of the tools I’m using to create visuals.
But a few free tools to get you started include:
Photo editors: PicMonkey and Canva
Quick image tools (for quotes and more): QuotesCover, Pablo (from Buffer), WordSwag (for iOS)
Presentations: Haiku Deck for SlideShare
Video: your smartphone, Animoto, Screenr, YouTube video creator
Infographics: Piktochart, Easil.ly, Visual.ly
And an example for this post:
I used the “presentation” template on Canva (a perfect size for SlideShare and YouTube) to make the image for tip #3 in this post (shown below):
I can come back later and create visuals for the remaining two tips, add a few more slides, and create a SlideShare presentation.
What do you think? Can you make a few pieces of visual content for some of your blog posts?
Need help? Contact us for information about our visual content creation packages – we’d love to assist you!
Image (top) courtesy of (and derived from) stokpic / Pixabay