Now that Facebook’s Timeline is available for everyone, here are a few tips to help with your transition:
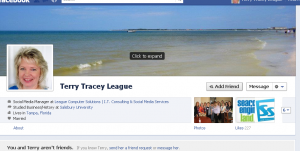
Your Home page on Facebook remains the same; your new Timeline is what your friends will see – your “public” profile. (Here are a few screen shots of my Personal Profile/Timeline as an example):
Cover Image – a great way to highlight something about you:
Larger images are some of the first things you’ll notice on your Timeline. You can add a Cover Image to personalize your profile or “brand” yourself. The cover image dimensions are 851 pixels wide x 315 pixels high. Upload and crop an existing image/photo or make a customized cover (I simply uploaded and cropped a picture from one of our summer beach visits for my current cover above). Want to get more creative with your Cover Image? Look at some great examples at Social Media Examiner and Mashable.
Two Columns (timeline) – see more updates at once in this format
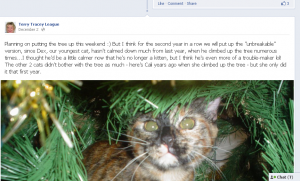
Your status updates now appear across 2 columns, in chronological order. It takes a little while to get used to reading across both columns, but a nice tool is the Feature option on a status update: you can hover over the star icon in the status box and select “feature” to display a post across both columns.
See below for my “featured” post and image – one of the cats in the Christmas tree!
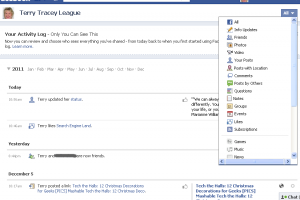
Activity Log – a recap of all your updates
Your Activity Log is a quick way to see what you’ve posted on your Timeline and it’s only visible to you. You can click on the ALL drop down menu to view items you’ve added to the Timeline by category.
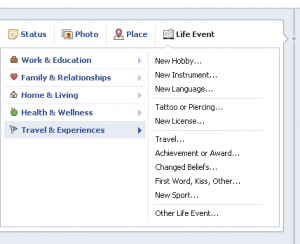
Timeline History – fill in as much as you want; share new events
The status update box gives you a new option, “Life Event”, that you can use to fill in your history on Facebook or post a new event. Facebook even gives you some suggested categories (a few very interesting ones too!)
Hopefully these tips will help as you transition to Facebook’s Timeline. Let us know if you have any questions!


